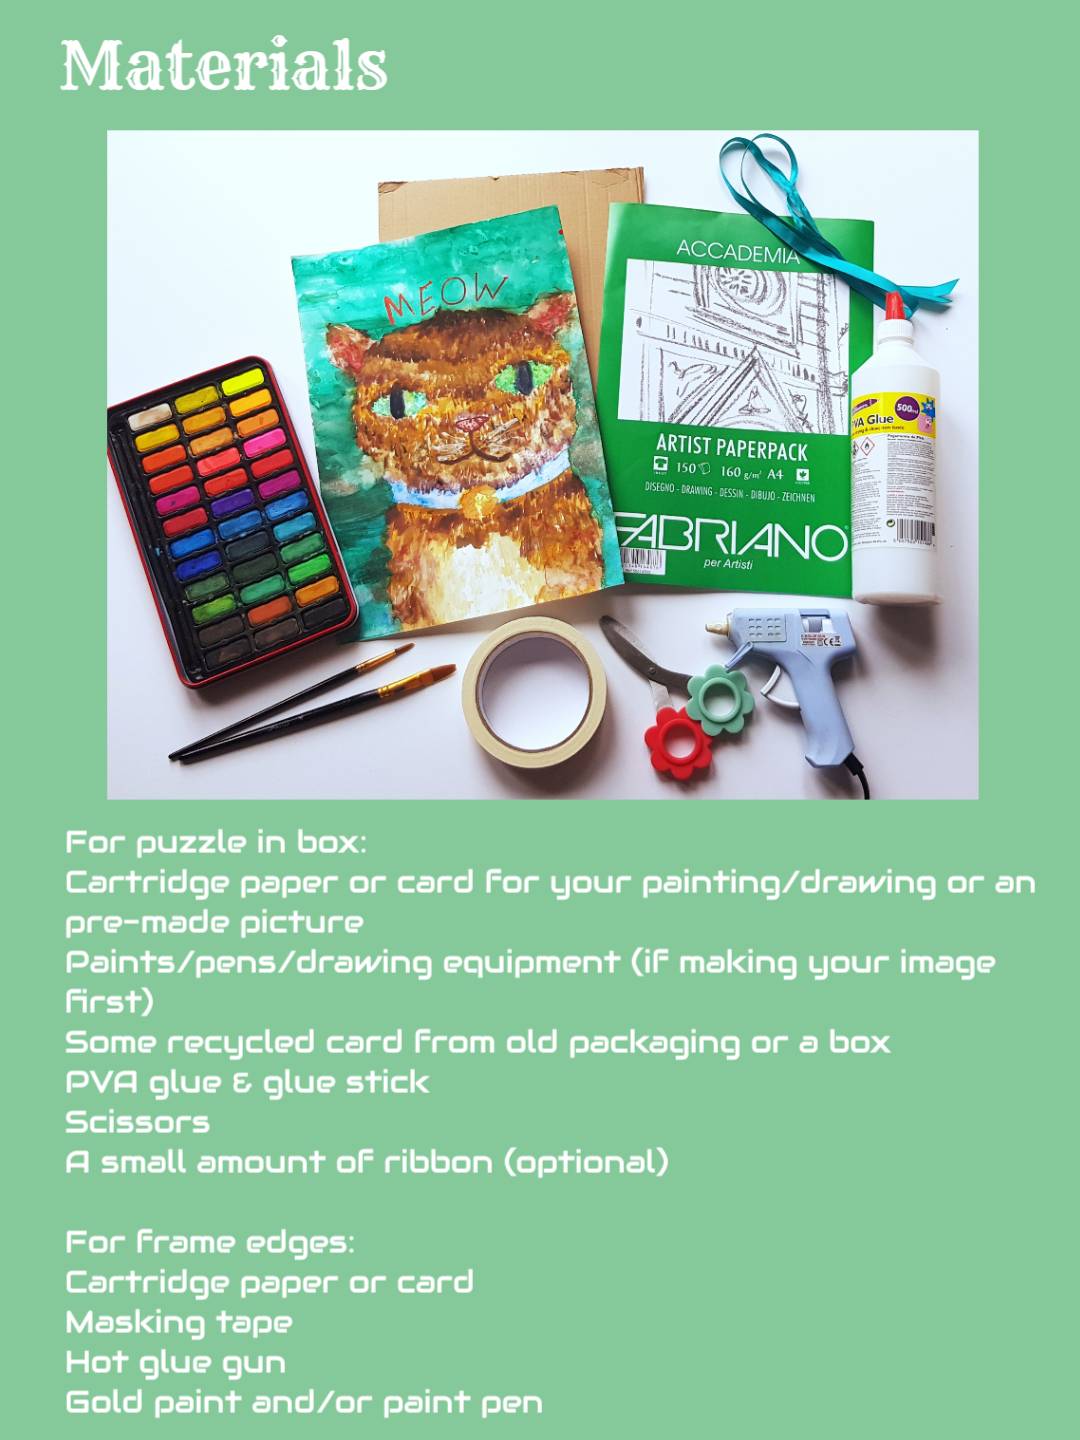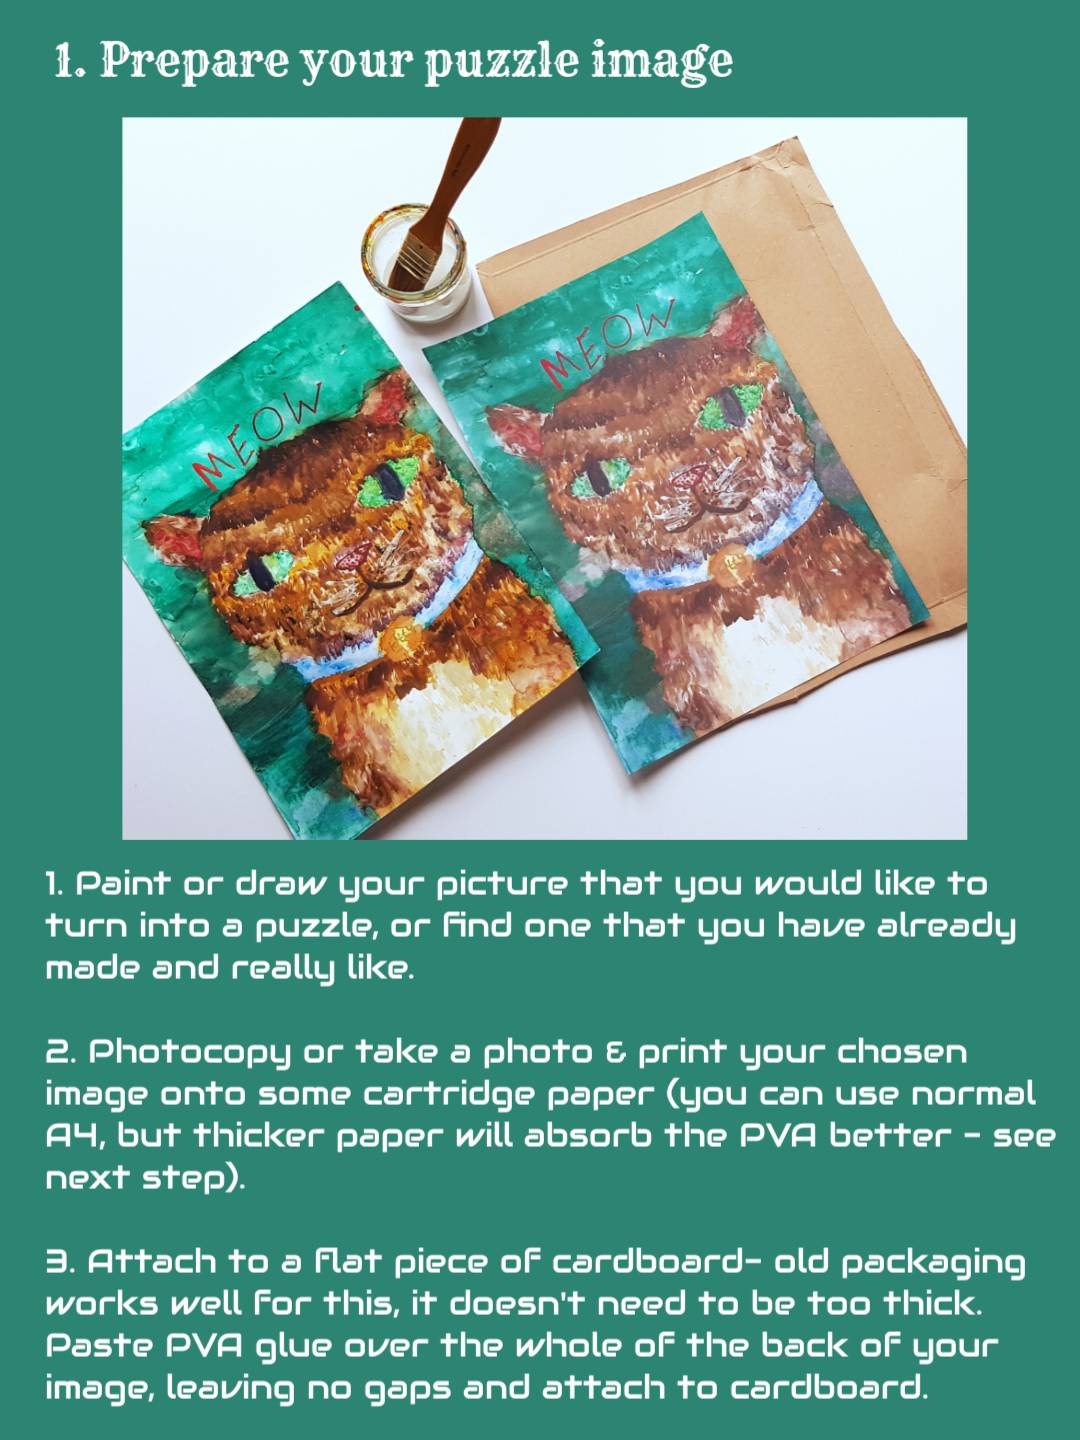
For this tutorial, all the activities are a form of paper craft, explored in the main blog post – An exploration of Paper Crafts to try at home. We’ve chosen to make our own puzzle as jigsaw puzzles became quite a popular pass-time for us over the last year, and in fact, the beautiful painting that we’ve used for this craft was painted by my daughter with watercolour paints, and inspired by a 1000-piece cat puzzle that we completed as a family last year (she kindly gave her permission for us to share her artwork and use if for this activity). If you or a family member also like jigsaw puzzles, why not make your own to keep for a rainy-day activity or give as a thoughtful personal gift to a family or friend?
There are three, or four, main parts to this tutorial, depending on what you choose to start with, and all of them are simple paper-based crafts at their core:
Make a painting or drawing – we have used a beautiful cat painting of my daughters as our chosen image to turn into a puzzle, and you might like to choose one of your favourite paintings that you or a family member have made. Alternatively, you might choose to paint one from scratch that you will then turn into your puzzle. Your picture can be anything you like and in any format you like! It could be abstract, or more literal, watercolours, acrylics, or a marker pen drawing or colouring. Or you could choose a favourite photograph to print out, or another favourite image. You might like to think about how your image would work as a puzzle – will it be easy or tricky? Are there any key distinguishing features that might make identifying pieces of a puzzle easier or harder; these questions can inform your choice of painting or drawing and the amount of detail you add to your image, and how much white space is there and so on.
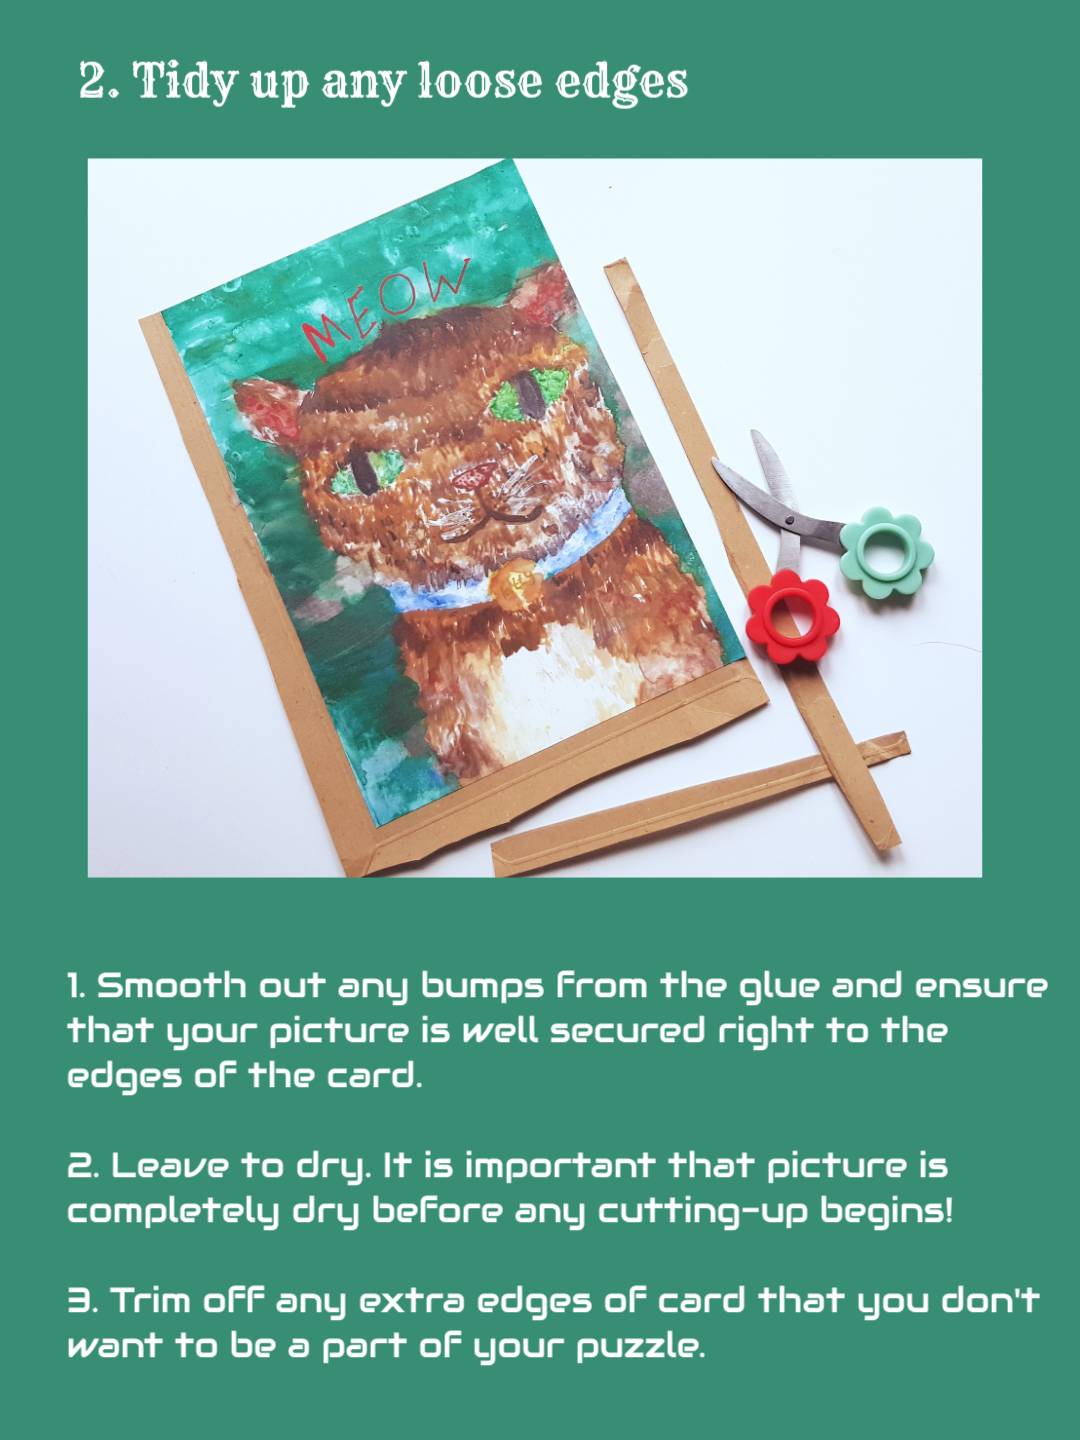
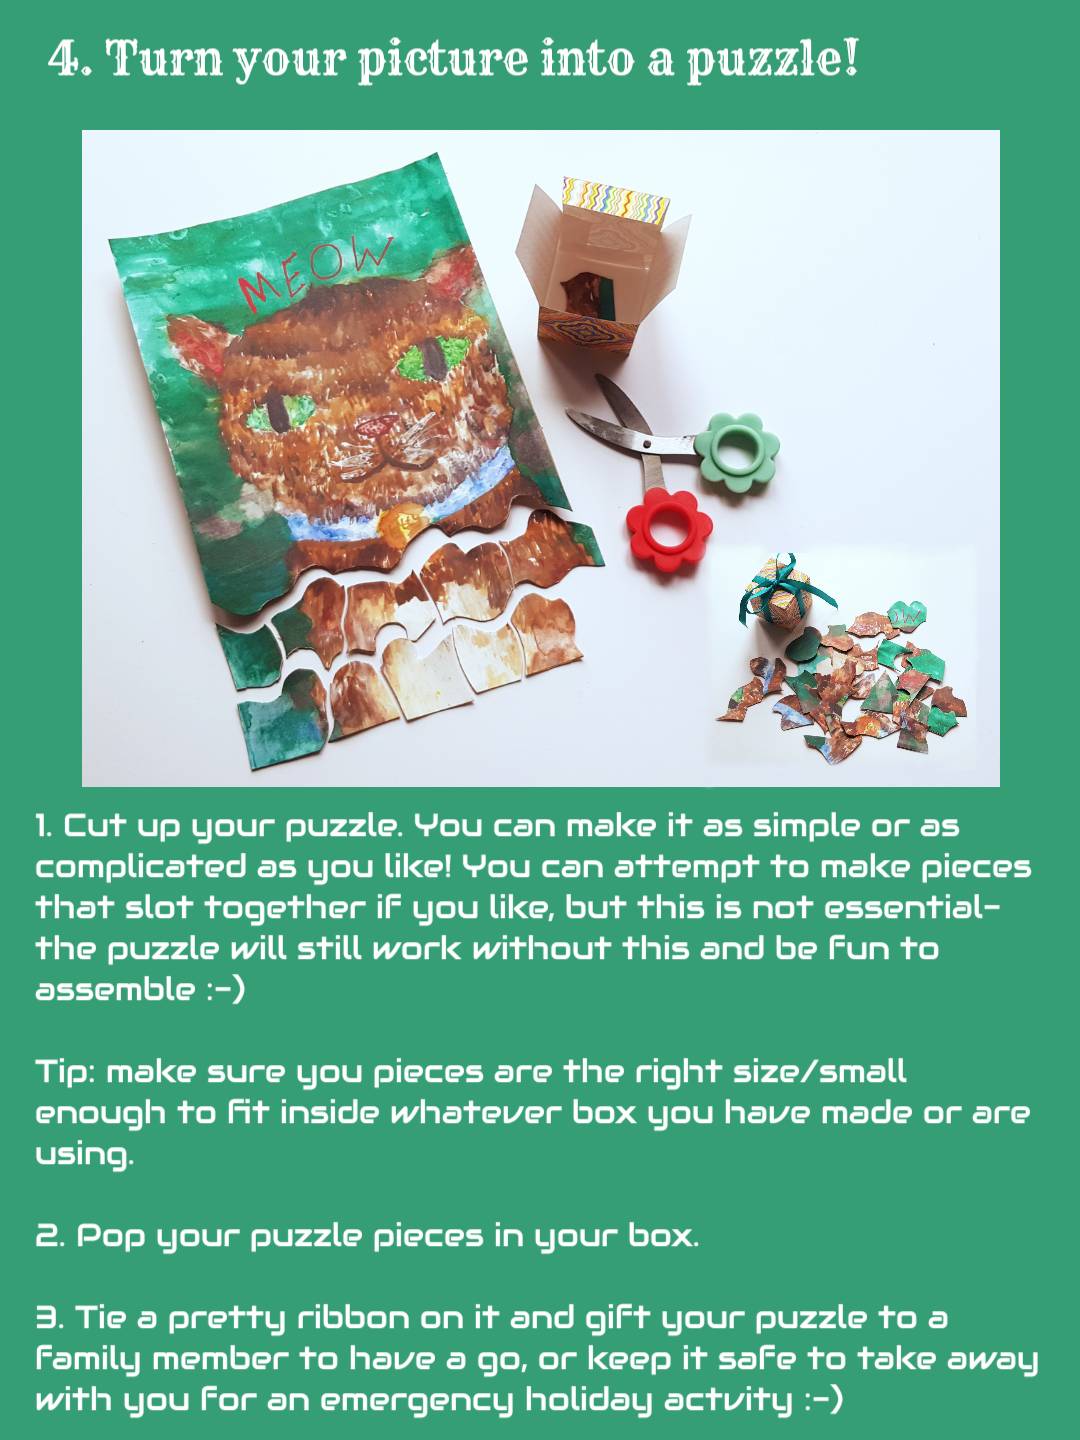
Make a puzzle out of your picture – once you have your chosen image, either one that you have made yourself either specifically for this project or copied one you made earlier, or found another image you like – the tutorial below explains how to make your puzzle.
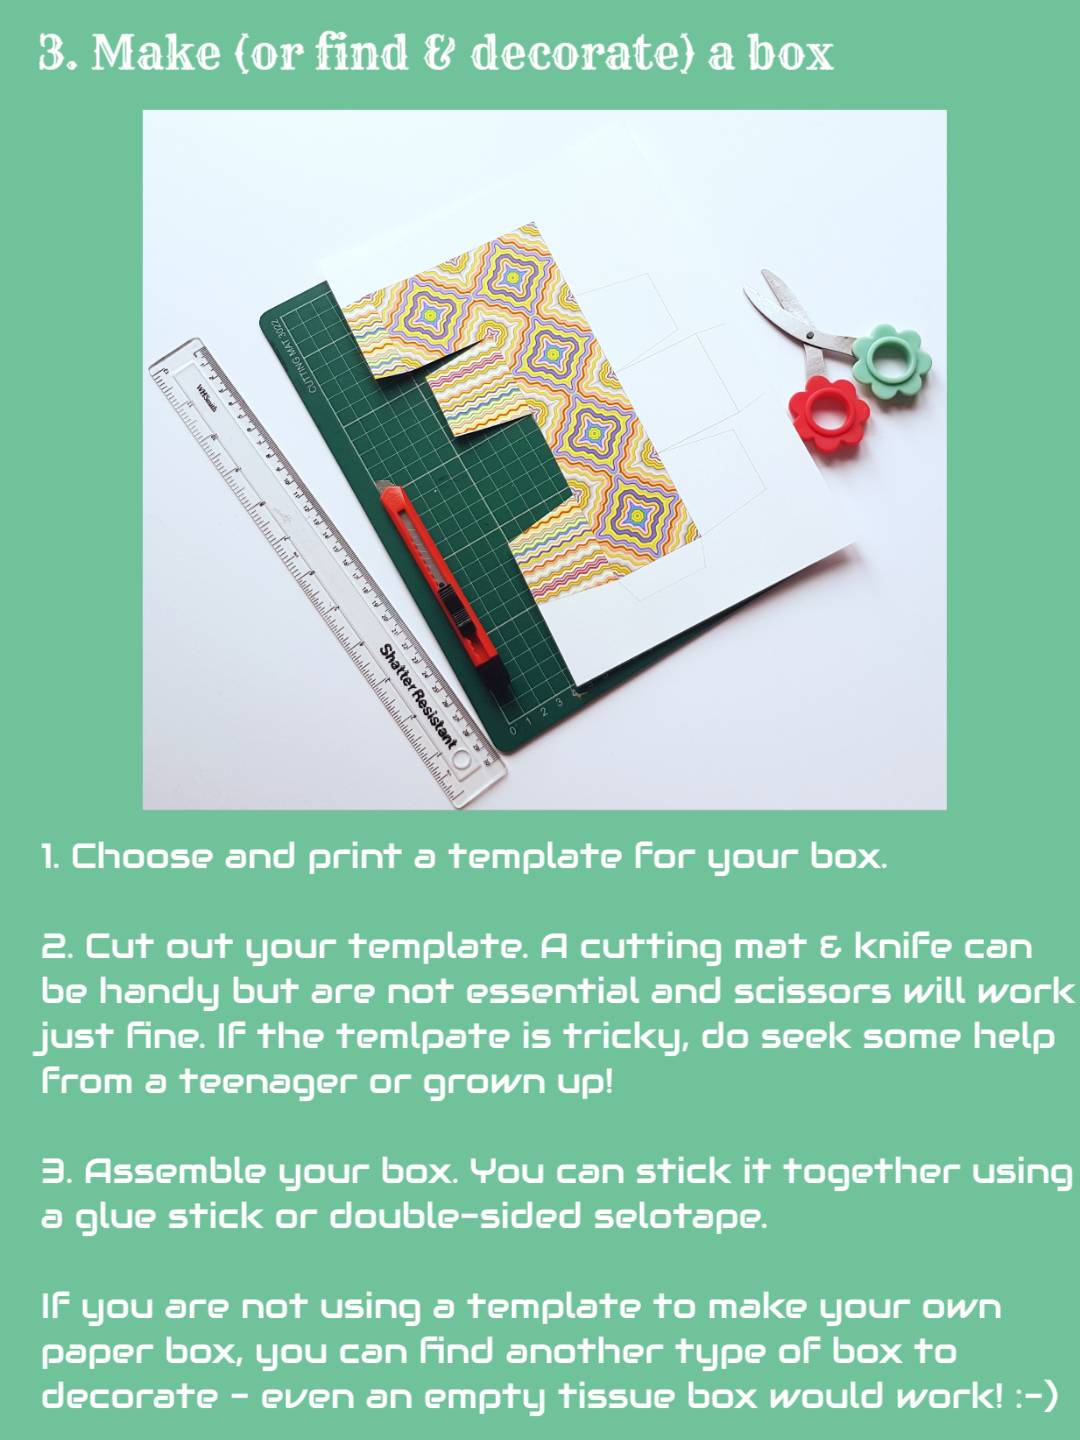
Make a box to put your puzzle in – to make your puzzle box, you will need a template. I have used one from this website, but others are available, and you might even be able to make your own… If you want to skip this bit, you could find an old gift box for your puzzle to go in, or decorate another type of box with paints or tissue papers, to make your puzzle in a box even more personal.
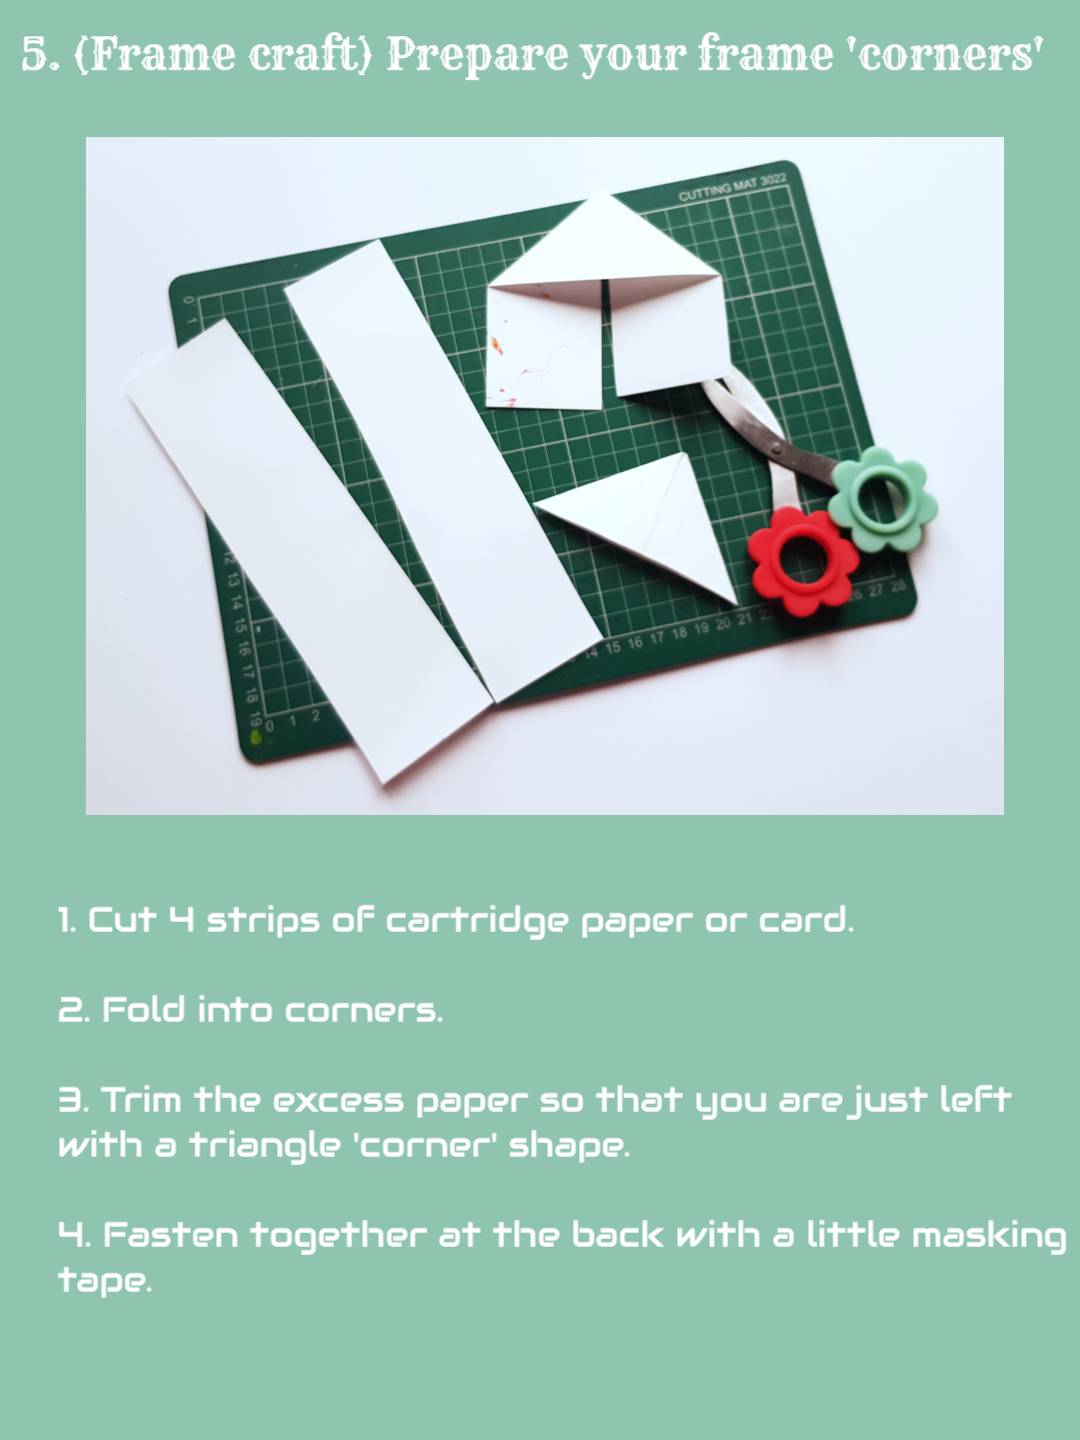
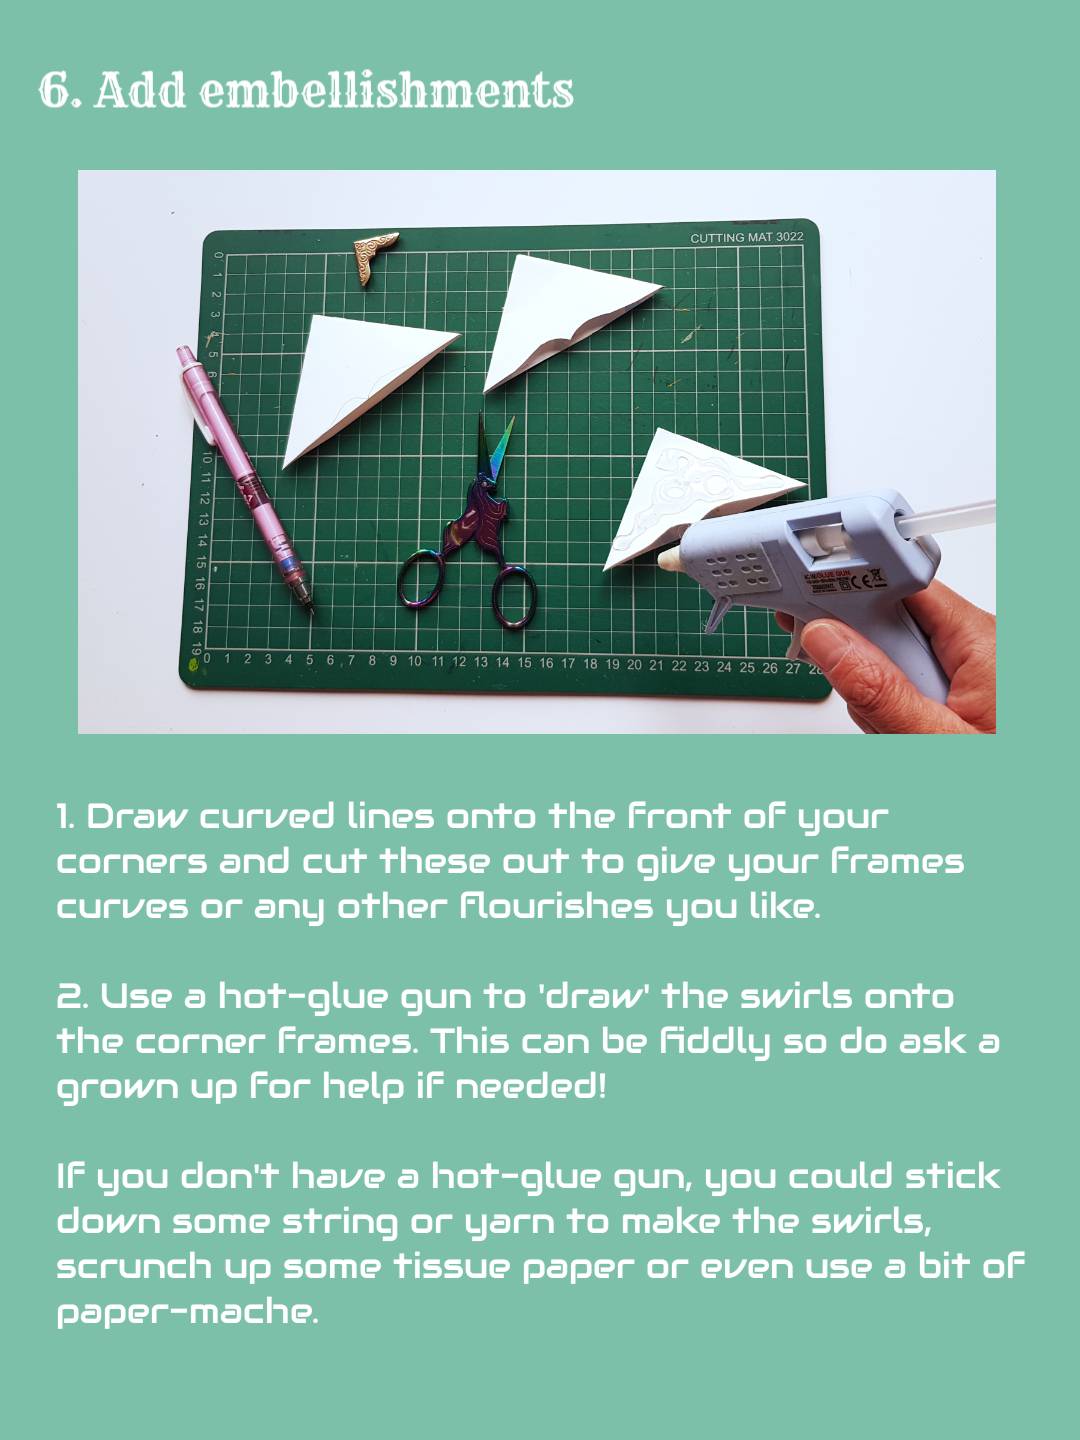
Make some simple but ornate & ‘fancy’ frame edges for your painting – these can be used to decorate your original painting that you might have done as a part of this craft, or any favourite painting that you have already made! The idea came from some tiny little corner picture frame edges that I found in a unique trinket shop a few years ago. They decorate a miniature Frida Kahlo picture that my daughter drew when she was very young, and sits permanently on our dining table. We thought we could make our own frames, using some thick paper and a hot-glue gun, to decorate our favourite paintings. My daughter said that ‘Kitty’ looks very “fancy” with her new frame edges! The tutorial below explains how to make your own! You can make as many of these as you like, and apply them to a whole host of your wonderful paintings!
As always, feel free to choose any or all parts of this tutorial to have a go at, and for more simple paper craft ideas, have a look at the main blog post. Most importantly have fun and…
Happy Crafting!
© 2021 Abigail Cole
For more creative ideas visit www.forgetfulfairyartstudio.com
Help us to continue support to all neurodiverse families and individuals
PowerWood offers to neurodiverse families understanding, simple tools and strategies that enable us to support ourselves and our children through emotional overwhelm. If you enjoy reading the articles please support PowerWood making all information available to all by becoming a PowerWood Community FreeBee or Friend member. Thank YOU!

